TAKING 2 BOXES OF FOAM AND A ROLL OF FABRIC AND MAGICALLY CREATING SALON CUSHIONS

Biggest challenges:
Getting the materials to St Thomas
Finding time to actually do it
Lack of work space
Being in a rolly anchorage
Sweating like a pig
Move things back and forth over and over again
Getting the panels to match up perfectly with the boxing
Getting the silk wrap to stay in place on the big cushions
DAY 1: Remeasure & Rethink. This sofa needs to convert into bed. How should I divide the cushions? Originally wanted one long cushion for main seat cushion. Now rethinking it because seat cushion can stay and back rest can be the extension when it converts into a bed. Also noticed that the cushions are not totally rectangular because all the way forward the fiberglass angles inward. Of course, my little helper Momo was right there to assist.


I opened up the first foam box. The piece of foam was huge. I was glad to see that it was the right dimensions and 5" thick, but there was absolutely no way to lay it flat anywhere on the boat . It was impossible to get an accurate measurement without being able to lay it flat. How the hell was I going to draw a straight line and make a straight cut in this small space???!!!


Cutting foam is NOT a one man job. Especially when you don't have enough space or a flat surface to cut on. They say measure twice, cut once. I measured 4 times because I really didn't want to screw this up. I cut out the biggest piece first, so the rest of the cuts would be a little bit more manageable. My first cut was VERY sloppy. Oh how I wish I had a huge space and big table to work with like they do in the Sailrite demo videos.
I laid the piece on the starboard side seat. I couldn't get a good measurement when it was curved, so I propped it up and had to crawl under it army style to get to the other side to measure and mark. Of course I repeatedly forgot something I needed so I had to crawl back and forth under the foam on the hot and rocking boat numerous times.


If I screw up this cut, I could screw up the entire project. No pressure, right? I decided to use the wooden lip of the couch on the underside as the bottom guide and hope for the best.

It sure isn't pretty...but at least I have this gigantic piece of foam cut down to a slightly more manageable size. Maybe I can go back later and smooth out the edges??? Each cut got easier, as the piece of foam I was cutting from got smaller and more manageable. I measured and traced a line on all sides of the foam with a sharpie to try to cut the line as straight as possible.


I know I'm doing a shitty job, but I don't know what else to do under the circumstances. I decided to make the factory cut the front edge, and the sloppy cut the back edge where the zipper will go and be covered up by the back cushion. Should be fine, hopefully.

I made a special cut for the odd shaped corner. It actually turned out okay...though by now my standards have dropped dramatically. Perfect is just NOT going to happen, and I've accepted that.


I am going to wait to cut the seat backs. I don't have room for another gigantic sheet of foam right now anyway. It can stay compressed in the box in the forward cabin for a while longer. Plus, after the seat cushions are complete, I can take seat back measurements starting at where they will meet the seat cushions.

Next I unrolled the giant roll of materials from Sailrite. First I had to unroll all of the batting and re-roll it up on its own. Then I unrolled each fabric, separating and folding up the smaller piece I bought for the piping and the throw pillows. I now had just my main fabric, the Sunbrella dupione paradise, on the big roll.

Next I started making the piping. I started to make 1.25" fabric strips because that was recommended in the Sailrite piping video, but since I should have plenty of fabric and my straight edge is 1.5" thick I decided to go with 1.5" fabric strips to make it easier. I only had a metal square as a straight edge, so it was grueling work. In retrospect, I really should have bought a metal yard stick. I have a wooden one, but it is warped and definitely not straight enough for drawing lines. I was hunched over working on the floor, so my back was sore after a while.


I was extremely pleased that I splurged on the Sailrite Edge Hotknife. It cut through the fabric like butter. It only took a minute to set up, and just a couple of minutes to get the feel for how long to hold down the trigger to make it cut without scorching the fabric edges.

I made 20 strips, and decided to stop there and call it a day. I had been working from 7am to 5pm without a break. I cleaned up so we could have some living space, and had to move all of the old cushions off of our bed so we could have somewhere to sleep. I covered up the bare foam with a blanket to keep it safe from kitty claws and clean.


DAY 2: The next morning I got started around 8am. I decided to start to measure and cut my cushion panel fabric. It was awkward to work with the huge roll in the small work space on the boat, but no where near as challenging as working with the giant sheet of foam! I decided to make the biggest panels first.

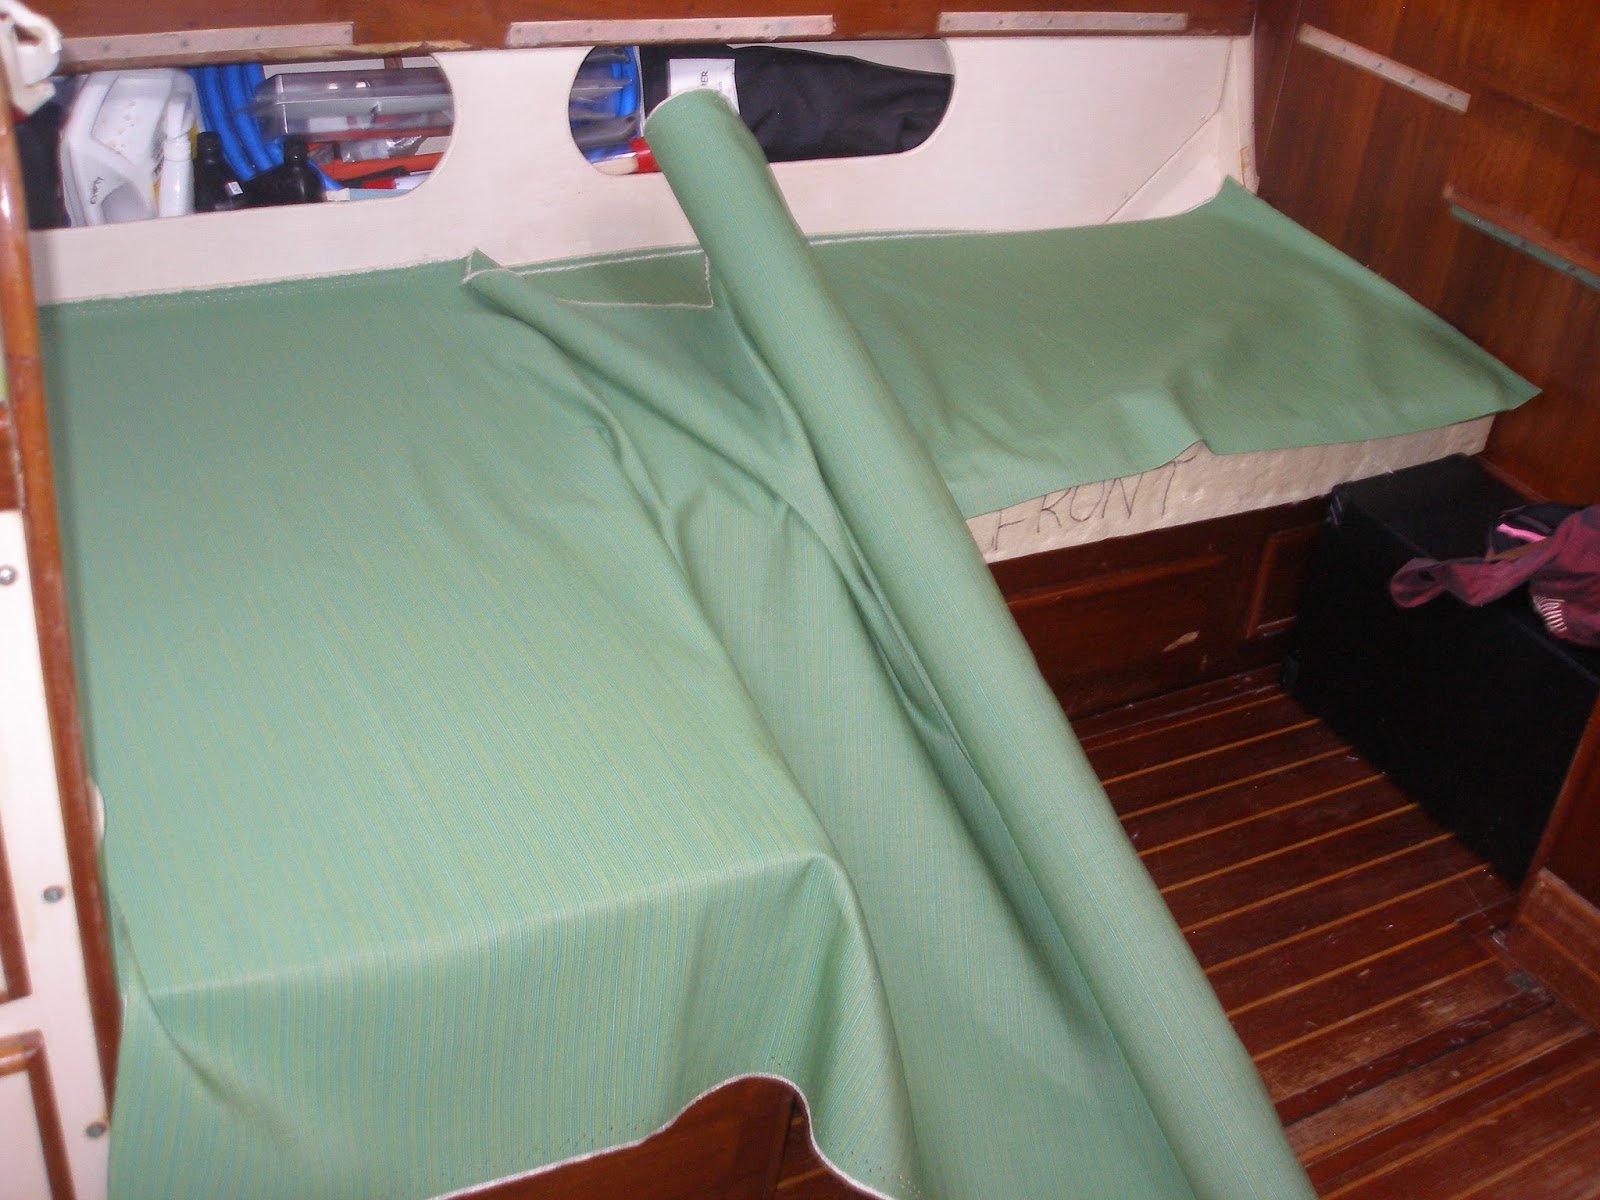
I laid the fabric on top of the biggest cushion and then struggled for a couple minutes to decide which way the stripes should go. I did a little research and looked at some pictures, and finally decided to have the strips running from front to back of each cushion rather than side to side. A big part of this decision was that the fabric was only 54" wide and my cushion is 77" long. So it would be easier.
I made my marks with a mechanical pencil, since my white marking chalk didn't show up well enough. Cutting along the stripes was so beautifully easy. I'm sure it was my straightest cut yet, since I just had to follow the stripe of the fabric! And I got really lucky, because the width of my fabric roll made it possible to perfectly fold the fabric in half, score a line with my scraper tool, and then cut along the line. And I magically had a top and bottom panel of equal sizes! I left a seam allowance of 1" all the way around the panel. In retrospect, I should have just cut the panels exactly the same size as the foam so it would be a more snug fit.


I made my own piping using Sunbrella canvas parrot upholstery fabric. I already had some strips cut from yesterday. First I had to join the strips together. I decided to join the strips on an angle so it would look nicer and less bulky where they meet up.


Then I centered the piping cordage in the strip and sewed as close to the cordage as I could. I screwed up a few times and sewed through the cordage. I had to use my seam ripper and tear those stitches out and start again. When I finished sewing about 5 strips of piping together, I realized that I accidentally had the wrong side out and the stitching was showing where I joined the strips. Oops! I seam ripped and fixed most of them, but I was getting pretty impatient and decided to just leave a couple of them as they were.


I sewed the piping to the top and bottom panels.


I started getting confused about what measurements to take for my boxing, because some sources were saying to give a seam allowance of 1/2" on every seam, but Sailrite said cut the fabric exactly to the same dimensions as the cushion so you have to stuff the cushion into the fabric and have a more full looking firm cushion. I wasn't sure what I should do, so I did my smallest cushion (the nav station) as an experiment using the exact dimensions as the cushion to see how it turns out.

After cutting the boxing for the nav station cushion to exact size of the foam I decided to tackle the zipper plaque. I used the first technique demonstrated in the Sailrite video. I cut a piece of fabric 1.5" wider than the thickness of my foam (5" + 1.5" = 6") and 5" longer than the length of the side of my foam so the zipper could wrap around slightly to the other sides to make it easier to insert and remove the foam. Then I folded that strip in half and sewed .75" away from the fold. Next I cut open the fold and splayed it out, setting the zipper on top of the splay. I initially sewed too close to the zipper and it the zipper wouldn't work, so I had to get the seam ripper and do it again. Aaarg. Next time I sewed farther away from the zipper, and it turned out much better. Then I got the seam ripper and broke through the threads and the zipper looked great! It was perfectly hidden under the flap. I pulled the teeth of the zipper slightly apart and put on the zipper pull. I was so proud! I made my first zipper!!!


At first I started sewing the pieces of boxing to the top panel, but then I watched the Sailrite instructional video again and realized that I was supposed to join the boxing panels all to one another and then join them to the top panel. Seam ripper, yet again! I sewed all of the boxing panels together, not really sure what I was doing with the zipper plaque piece. It confused me, since it was supposed to wrap around slightly.


I sewed the boxing strips and the zipper plaque all together, and then sewed it to the top and bottom panels. Getting the panels to line up perfectly with the boxing was really difficult. I kept ending up with extra fabric along the sides so I had to kind of bunch up the boxing a little bit to make it line up.


I wrapped the cushion in polyester batting and then attempted to silk wrap it. That was easier said than done. The slightest amount of air movement and it was blowing around and very unruly. It was hot on board, so I was sweaty and the silk wrap kept sticking to me. I accidentally put a hole in it while trying to get it completely wrapped around the cushion. It wasn't a great wrap, but I got it good enough to use the vacuum cleaner to suck out the air and insert it into the fabric. It looked pretty darn good! I doubt most people would notice the flaws, but I know that I will.


For my next cushions I will do a couple of things differently:
1. I will make the fabric fit tighter around the foam by cutting the fabric exactly to the foam dimensions with no seam allowance on the panels or the boxing strips.
2. I will use shorter stitches for stronger seams.
3. I will make sure my piping strips are right side out.
4. I will use the 3M Super 77 adhesive spray to hold the batting in place.
5. I will make marks around the fabric to make sure my panels line up better with my boxing (I ended up with a little bit too much fabric on the last bit of the boxing to panel attachment and it looks a little bit bunched up)
Alas, I had to go back to work, so my upholstery project sat for a week untouched. One side of the salon was stacked all the way up to the ceiling. I left the newly cut foam in place with the fabric draped over it, and then stacked the old cushions on top of it. I laid a blanket over the foam and fabric on the port side, where we usually sit, so it could be reasonably comfortable for the time being without messing up the foam. I know I should probably just take the old cushions to the dumpster, but I really hate throwing things away and adding to the impossibly big trash heap on this small island unless there is no other option. I think I will put a post up on Facebook to see if anyone can re-purpose any of our old cushions. If they can, they can have them all for free. If no one bites, I guess it will be added to the St. Thomas dump.

DAY 3: I have to go back to work tomorrow for another 5 days, so I'm hoping I can get a lot done today so the boat doesn't have to be in total disarray for too much longer!
I worked from 8am - 7pm without a break, and only managed to finish one cushion. I originally cut the panels with a seam allowance, so I had to go back and trim off the excess so it would fit more snugly around the foam. I think it looks better with no seam allowance. Everything looks full and plump. I'm not totally satisfied with my piping, though, as stitching does show in some spots. Trying to get the silk wrap on this big cushion was a nightmare. After many attempts, a lot of swearing, and a near temper tantrum, I decided to for-go the silk wrap and just jam the cushion in the fabric by hand. It turned out a little bit lumpy, but I plan to take it out in the near future to glue down the batting with 3M Super 77 adhesive spray and then maybe I can get Skeeter to help me get the silk wrap on it, shrink it with the vacuum, and get it nicely in the fabric.
Other than completing cushion #2 today, I also cut the boxing and make the zipper plaque for cushion #3, and I made a ton of piping. Hopefully on my next day off I can finish the seats. I think they will go faster because I'm getting the hang of things, and I already have lots of piping made.


A few weeks later I finished all of the bottom cushions.
 |
| Starboard side |
 |
| Port side |
 |
| Momo enjoying the new cushions |
FAST FORWARD TO THE FUTURE: After 8 x 10 hour days and many months later, I finally completed this project! It took me an average of 10 hours per cushion. My favorite part was sewing the throw pillow covers, since they were ridiculously easy compared to the upholstery job.

I lost motivation 5 1/2 cushions in because I was seriously burning out taking my every moment of free time to work on this monster of a project, and work was getting busier. I couldn't muster the time nor energy to continue.
Fortunately, Skeeter's mom and dad visited us and helped motivate me to finish. I only had 2 1/2 seat backs left to sew but I was too burnt out to finish on my own. Skeeter's mom Deb is very crafty and a great sewer. She enjoys this kind of thing. They talked me into bringing the cushions, machine, and materials over to the place they were staying. They got to house and cat sit for a very kind friend of ours at a big beautiful house with a pool and a spectacular view. It was a lot of stuff to lug over, but well worth it to have ample work space and helpers!

Skeeter and his dad Mike me helped measure and cut, and Deb and I (mostly Deb!) did the remainder of the sewing. I felt bad that part of their vacation was spent slaving over my upholstery project, but they said they were happy to help. I must say, Deb did a better job sewing than I did. It was absolutely perfect! I'm glad she had fun doing it, because by that time I absolutely HATED this project and was so glad it was over!